
When I got my first ever programming job, the LAMP (Linux, Apache, MySQL, PHP) stack—and its variations—ruled supreme. I used WAMP at work, DAMP at home, and deployed our customers to SAMP. But now all the stacks with memorable acronyms seem to be very JavaScript forward. MEAN (MongoDB, Express, Angular, Node.js), MERN (MongoDB, Express, React, Node.js), MEVN (MongoDB, Express, Vue, Node.js), JAM (JavaScript, APIs, Markup), and so on.
As much as I enjoy working with React and Vue, Python is still my favourite language for building back end web services. I wanted the same benefits I got from MERN—MongoDB, speed, flexibility, minimal boilerplate—but with Python instead of Node.js. With that in mind, I want to introduce the FARM stack; FastAPI, React, and MongoDB.
#What is FastAPI?
The FARM stack is in many ways very similar to MERN. We've kept MongoDB and React, but we've replaced the Node.js and Express back end with Python and FastAPI. FastAPI is a modern, high-performance, Python 3.6+ web framework. As far as web frameworks go, it's incredibly new. The earliest git commit I could find is from December 5th, 2018, but it is a rising star in the Python community. It is already used in production by the likes of Microsoft, Uber, and Netflix.
And it is speedy. Benchmarks show that it's not as fast as golang's chi or fasthttp, but it's faster than all the other Python frameworks tested and beats out most of the Node.js ones too.
#Getting Started
If you would like to give the FARM stack a try, I've created an example TODO application you can clone from GitHub.
1 git clone git@github.com:mongodb-developer/FARM-Intro.git
The code is organised into two directories: back end and front end. The back end code is our FastAPI server. The code in this directory interacts with our MongoDB database, creates our API endpoints, and thanks to OAS3 (OpenAPI Specification 3). It also generates our interactive documentation.
#Running the FastAPI Server
Before I walk through the code, try running the FastAPI server for yourself. You will need Python 3.8+ and a MongoDB database. A free Atlas Cluster will be more than enough. Make a note of your MongoDB username, password, and connection string as you'll need those in a moment.
#Installing Dependencies
1 cd FARM-Intro/backend 2 pip install -r requirements.txt
#Configuring Environment Variables
1 export DEBUG_MODE=True 2 export DB_URL="mongodb+srv://<username>:<password>@<url>/<db>?retryWrites=true&w=majority" 3 export DB_NAME="farmstack"
Once you have everything installed and configured, you can run the server with python main.py and visit http://localhost:8000/docs in your browser.
This interactive documentation is automatically generated for us by FastAPI and is a great way to try your API during development. You can see we have the main elements of CRUD covered. Try adding, updating, and deleting some Tasks and explore the responses you get back from the FastAPI server.
#Creating a FastAPI Server
We initialise the server in main.py; this is where we create our app.
1 app = FastAPI()
Attach our routes, or API endpoints.
1 app.include_router(todo_router, tags=["tasks"], prefix="/task")
Start the async event loop and ASGI server.
1 if __name__ == "__main__": 2 uvicorn.run( 3 "main:app", 4 host=settings.HOST, 5 reload=settings.DEBUG_MODE, 6 port=settings.PORT, 7 )
And it is also where we open and close our connection to our MongoDB server.
1 2 async def startup_db_client(): 3 app.mongodb_client = AsyncIOMotorClient(settings.DB_URL) 4 app.mongodb = app.mongodb_client[settings.DB_NAME] 5 6 7 8 async def shutdown_db_client(): 9 app.mongodb_client.close()
Because FastAPI is an async framework, we're using Motor to connect to our MongoDB server. Motor is the officially maintained async Python driver for MongoDB.
When the app startup event is triggered, I open a connection to MongoDB and ensure that it is available via the app object so I can access it later in my different routers.
#Defining Models
Many people think of MongoDB as being schema-less, which is wrong. MongoDB has a flexible schema. That is to say that collections do not enforce document structure by default, so you have the flexibility to make whatever data-modelling choices best match your application and its performance requirements. So, it's not unusual to create models when working with a MongoDB database.
The models for the TODO app are in backend/apps/todo/models.py, and it is these models which help FastAPI create the interactive documentation.
1 class TaskModel(BaseModel): 2 id: str = Field(default_factory=uuid.uuid4, alias="_id") 3 name: str = Field(...) 4 completed: bool = False 5 6 class Config: 7 allow_population_by_field_name = True 8 schema_extra = { 9 "example": { 10 "id": "00010203-0405-0607-0809-0a0b0c0d0e0f", 11 "name": "My important task", 12 "completed": True, 13 } 14 }
I want to draw attention to the id field on this model. MongoDB uses _id, but in Python, underscores at the start of attributes have special meaning. If you have an attribute on your model that starts with an underscore, pydantic—the data validation framework used by FastAPI—will assume that it is a private variable, meaning you will not be able to assign it a value! To get around this, we name the field id but give it an alias of _id. You also need to set allow_population_by_field_name to True in the model's Config class.
You may notice I'm not using MongoDB's ObjectIds. You can use ObjectIds with FastAPI; there is just more work required during serialisation and deserialisation. Still, for this example, I found it easier to generate the UUIDs myself, so they're always strings.
1 class UpdateTaskModel(BaseModel): 2 name: Optional[str] 3 completed: Optional[bool] 4 5 class Config: 6 schema_extra = { 7 "example": { 8 "name": "My important task", 9 "completed": True, 10 } 11 }
When users are updating tasks, we do not want them to change the id, so the UpdateTaskModel only includes the name and completed fields. I've also made both fields optional so that you can update either of them independently. Making both of them optional did mean that all fields were optional, which caused me to spend far too long deciding on how to handle a PUT request (an update) where the user did not send any fields to be changed. We'll see that next when we look at the routers.
#FastAPI Routers
The task routers are within backend/apps/todo/routers.py.
To cover the different CRUD (Create, Read, Update, and Delete) operations, I needed the following endpoints:
- POST /task/ - creates a new task.
- GET /task/ - view all existing tasks.
- GET /task/{id}/ - view a single task.
- PUT /task/{id}/ - update a task.
- DELETE /task/{id}/ - delete a task.
#Create
1 2 async def create_task(request: Request, task: TaskModel = Body(...)): 3 task = jsonable_encoder(task) 4 new_task = await request.app.mongodb["tasks"].insert_one(task) 5 created_task = await request.app.mongodb["tasks"].find_one( 6 {"_id": new_task.inserted_id} 7 ) 8 9 return JSONResponse(status_code=status.HTTP_201_CREATED, content=created_task)
The create_task router accepts the new task data in the body of the request as a JSON string. We write this data to MongoDB, and then we respond with an HTTP 201 status and the newly created task.
#Read
1 2 async def list_tasks(request: Request): 3 tasks = [] 4 for doc in await request.app.mongodb["tasks"].find().to_list(length=100): 5 tasks.append(doc) 6 return tasks
The list_tasks router is overly simplistic. In a real-world application, you are at the very least going to need to include pagination. Thankfully, there are packages for FastAPI which can simplify this process.
1 2 async def show_task(id: str, request: Request): 3 if (task := await request.app.mongodb["tasks"].find_one({"_id": id})) is not None: 4 return task 5 6 raise HTTPException(status_code=404, detail=f"Task {id} not found")
While FastAPI supports Python 3.6+, it is my use of assignment expressions in routers like this one, which is why this sample application requires Python 3.8+.
Here, I'm raising an exception if we cannot find a task with the correct id.
#Update
1 2 async def update_task(id: str, request: Request, task: UpdateTaskModel = Body(...)): 3 task = {k: v for k, v in task.dict().items() if v is not None} 4 5 if len(task) >= 1: 6 update_result = await request.app.mongodb["tasks"].update_one( 7 {"_id": id}, {"$set": task} 8 ) 9 10 if update_result.modified_count == 1: 11 if ( 12 updated_task := await request.app.mongodb["tasks"].find_one({"_id": id}) 13 ) is not None: 14 return updated_task 15 16 if ( 17 existing_task := await request.app.mongodb["tasks"].find_one({"_id": id}) 18 ) is not None: 19 return existing_task 20 21 raise HTTPException(status_code=404, detail=f"Task {id} not found")
We don't want to update any of our fields to empty values, so first of all, we remove those from the update document. As mentioned above, because all values are optional, an update request with an empty payload is still valid. After much deliberation, I decided that in that situation, the correct thing for the API to do is to return the unmodified task and an HTTP 200 status.
If the user has supplied one or more fields to be updated, we attempt to $set the new values with update_one, before returning the modified document. However, if we cannot find a document with the specified id, our router will raise a 404.
#Delete
1 2 async def delete_task(id: str, request: Request): 3 delete_result = await request.app.mongodb["tasks"].delete_one({"_id": id}) 4 5 if delete_result.deleted_count == 1: 6 return JSONResponse(status_code=status.HTTP_204_NO_CONTENT) 7 8 raise HTTPException(status_code=404, detail=f"Task {id} not found")
The final router does not return a response body on success, as the requested document no longer exists as we have just deleted it. Instead, it returns an HTTP status of 204 which means that the request completed successfully, but the server doesn't have any data to give you.
#The React Front End
The React front end does not change as it is only consuming the API and is therefore somewhat back end agnostic. It is mostly the standard files generated by create-react-app. So, to start our React front end, open a new terminal window—keeping your FastAPI server running in the existing terminal—and enter the following commands inside the front end directory.
1 npm install 2 npm start
These commands may take a little while to complete, but afterwards, it should open a new browser window to http://localhost:3000.
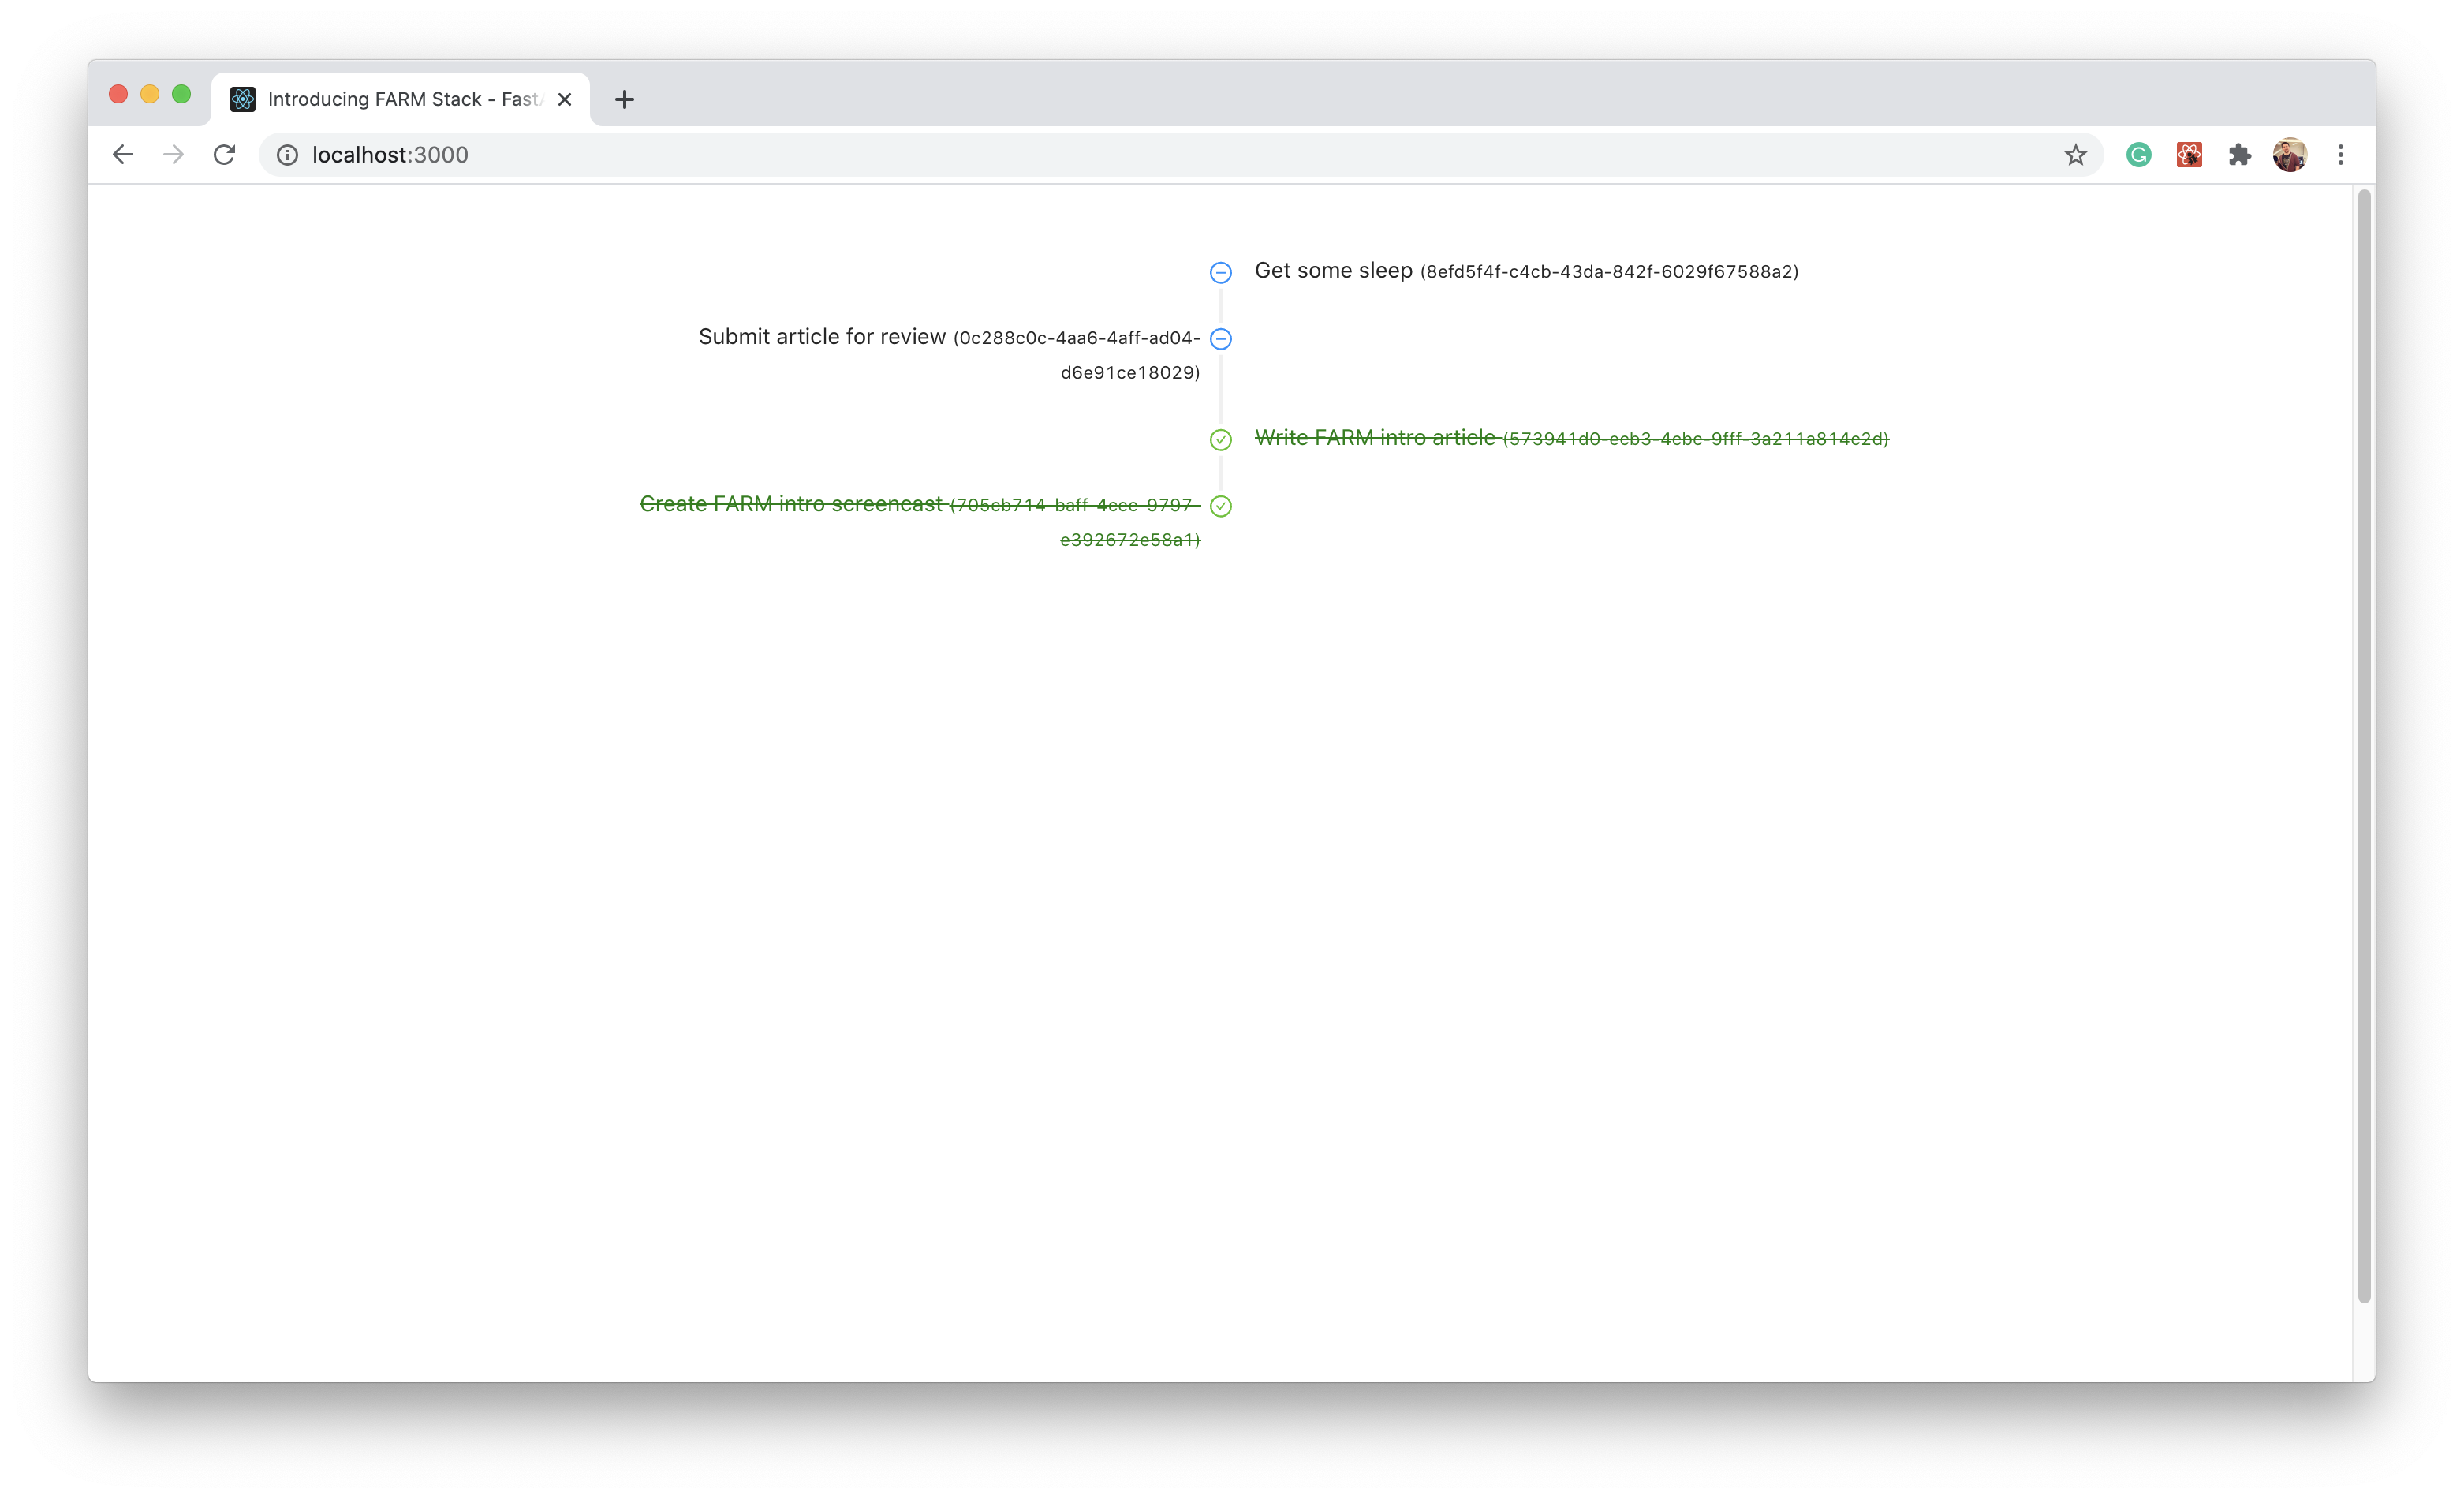
The React front end is just a view of our task list, but you can update your tasks via the FastAPI documentation and see the changes appear in React!
The bulk of our front end code is in frontend/src/App.js
1 useEffect(() => { 2 const fetchAllTasks = async () => { 3 const response = await fetch("/task/") 4 const fetchedTasks = await response.json() 5 setTasks(fetchedTasks) 6 } 7 8 const interval = setInterval(fetchAllTasks, 1000) 9 10 return () => { 11 clearInterval(interval) 12 } 13 }, [])
When our component mounts, we start an interval which runs each second and gets the latest list of tasks before storing them in our state. The function returned at the end of the hook will be run whenever the component dismounts, cleaning up our interval.
1 useEffect(() => { 2 const timelineItems = tasks.reverse().map((task) => { 3 return task.completed ? ( 4 <Timeline.Item
dot={<CheckCircleOutlined />}
color="green"
style={{ textDecoration: "line-through", color: "green" }}
>
{task.name} <small>({task._id})</small>
</Timeline.Item> 5 ) : ( 6 <Timeline.Item
dot={<MinusCircleOutlined />}
color="blue"
style={{ textDecoration: "initial" }}
>
{task.name} <small>({task._id})</small>
</Timeline.Item> 7 ) 8 }) 9 10 setTimeline(timelineItems) 11 }, [tasks])
The second hook is triggered whenever the task list in our state changes. This hook creates a Timeline Item component for each task in our list.
1 <> 2 <Row style={{ marginTop: 50 }}>
<Col span={14} offset={5}>
<Timeline mode="alternate">{timeline}</Timeline>
</Col>
</Row> 3 </>
The last part of App.js is the markup to render the tasks to the page. If you have worked with MERN or another React stack before, this will likely seem very familiar.
#Wrapping Up
I'm incredibly excited about the FARM stack, and I hope you are now too. We're able to build highly performant, async, web applications using my favourite technologies! In my next article, we'll look at how you can add authentication to your FARM applications.
In the meantime, check out the FastAPI and Motor documentation, as well as the other useful packages and links in this Awesome FastAPI list.
If you have questions, please head to our developer community website where the MongoDB engineers and the MongoDB community will help you build your next big idea with MongoDB.