
#Developer Productivity
MongoDB Atlas is changing the database industry standards when it comes to database provisioning, maintenance, and scaling, as it just works. However, even superheroes like Atlas know that with Great Power Comes Great Responsibility.
For this reason, Atlas provides Enterprise-grade security features for your clusters and a set of user management roles that can be assigned to log in users or programmatic API keys.
However, since the management roles were built for a wide use case of our customers there are some customers who need more fine-grained permissions for specific teams or user types. Although, at the moment the management roles are predefined, with the help of a simple Realm service and the programmatic API we can allow user access for very specific management/provisioning features without exposing them to a wider sudo all ability.
To better understand this scenario I want to focus on the specific use case of database user creation for the application teams. In this scenario perhaps each developer per team may need its own user and specific database permissions. With the current Atlas user roles you will need to grant the team a Cluster Manager Role, which allows them to change cluster properties as well as pause and resume a cluster. In some cases this power is unnecessary for your users.
If you haven't yet set up your free cluster on MongoDB Atlas, now is a great time to do so. You have all the instructions in this blog post.
#Proposed solution
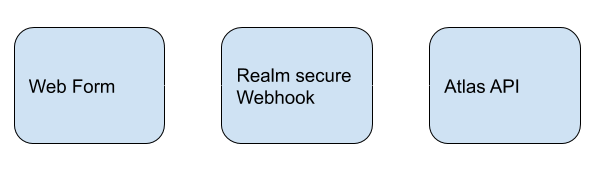
Your developers will submit their requests to a pre-built service which will authenticate them and request an input for the user description. Furthermore, the service will validate the input and post it to the Atlas API without exposing any additional information or API keys.
The user will receive a confirmation that the user was created and ready to use.
#Work Flow
To make the service more accessible for users I am using a form-based service called Typeform, you can choose many other available form builders (e.g Google Forms). This form will gather the information and password/secret for the service authentication from the user and pass it to the Realm webhook which will perform the action.
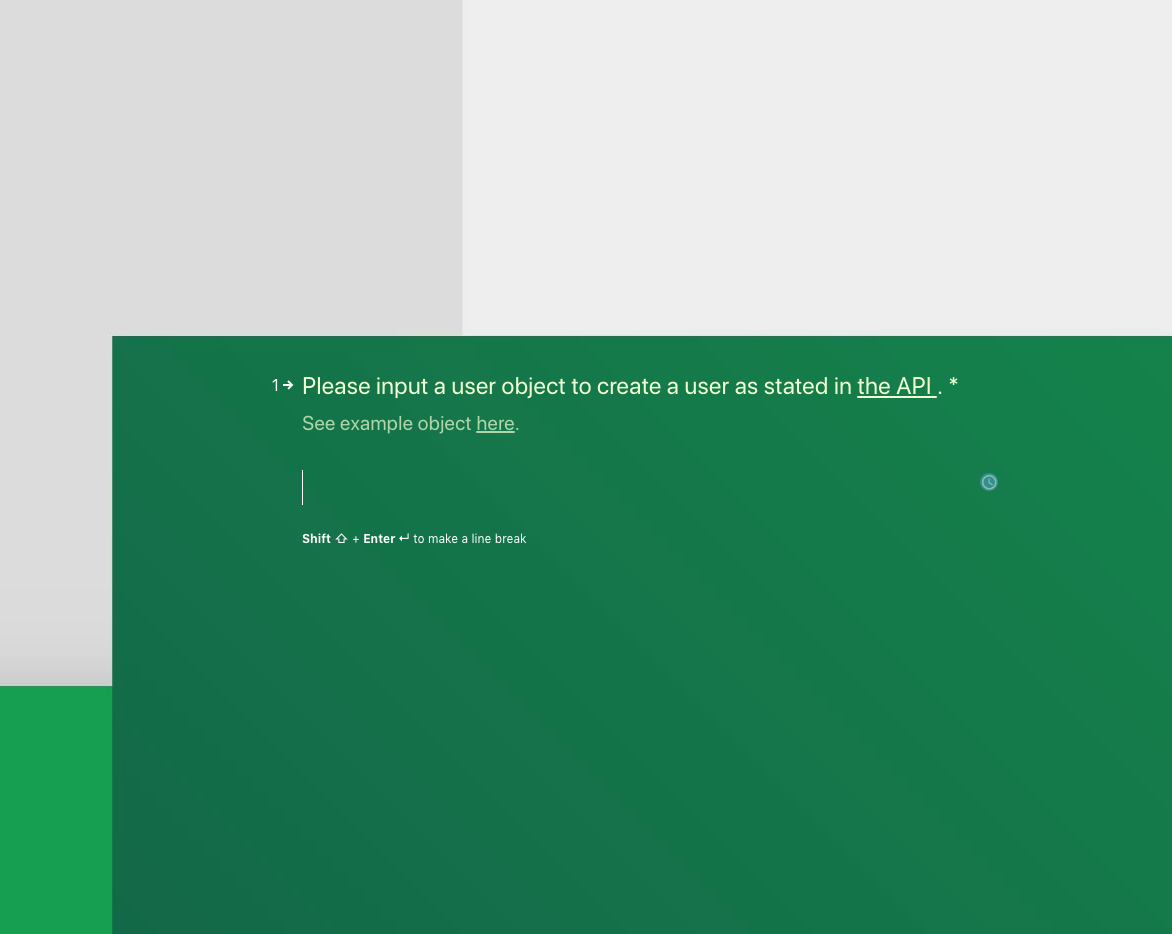
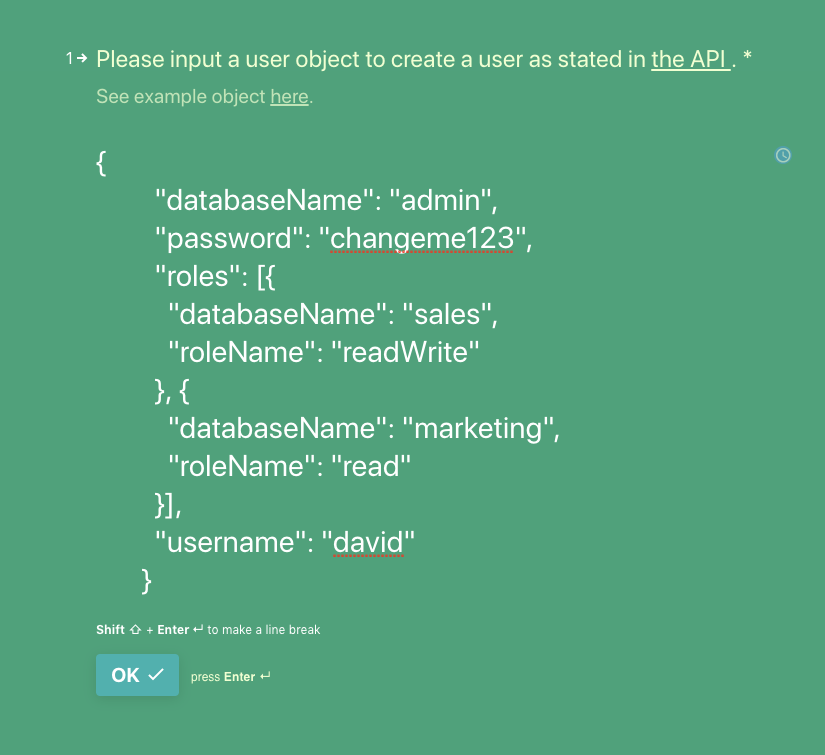
The input is an Atlas API user object that we want to create, looking something like the following object:
1 { 2 "databaseName": <DB>, 3 "password": <PWD>, 4 "roles": [...], 5 "username": <USERNAME> 6 }
For more information please refer to our Atlas Role Based Authentication documentation .
#Webhook backend
This section will require you to use an existing Realm Application or build a new one. MongoDB Realm is a serverless platform and mobile database. In our case we will use the following features:
You will also need to configure an Atlas API key for the relevant Project and obtain it's Project Id. This can be done from your Atlas project url (Eg. https://cloud.mongodb.com/v2/<PROJECT_ID>#clusters).
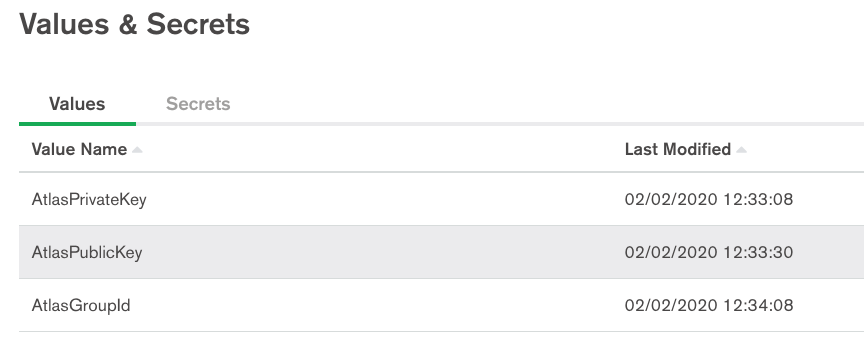
The main part of the Realm application is to hold the Atlas API keys and information as private secure secrets .
This is the webhook configuration that will call our Realm Function each time the form is sent:
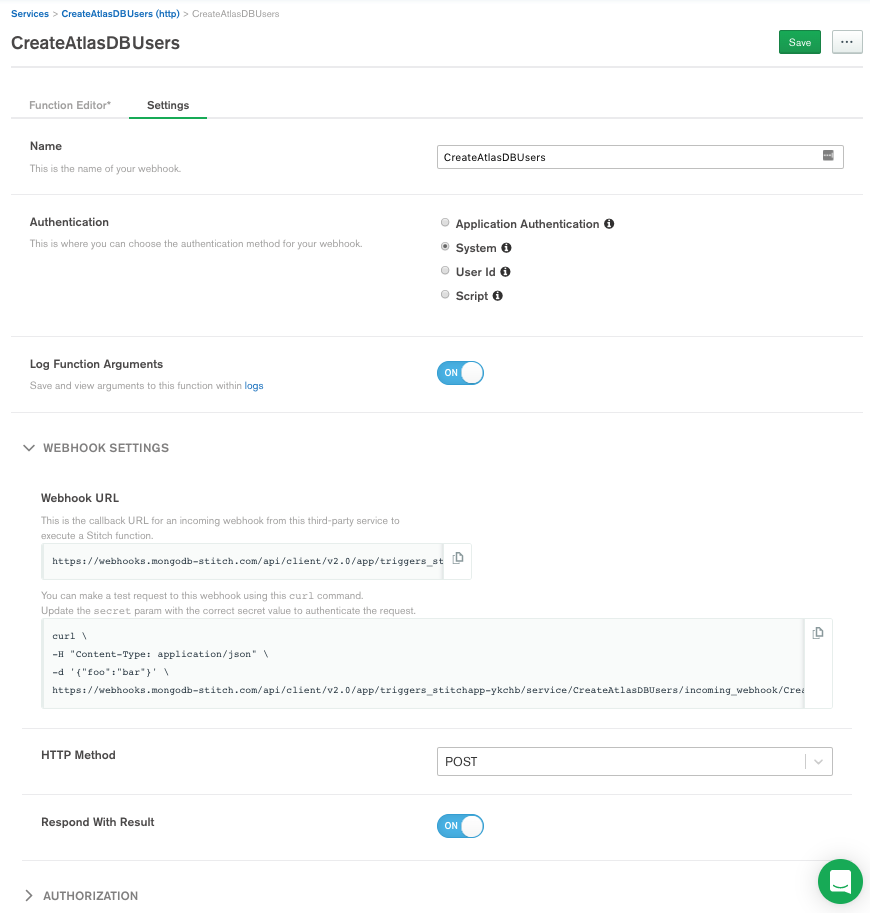
The function below receives the request. Fetch the needed API information and sends the Atlas API command. The result of which is returned to the Form.
1 // This function is the webhook's request handler. 2 exports = async function(payload, response) { 3 // Get payload 4 const body = JSON.parse(payload.body.text()); 5 6 // Get secrets for the Atlas API 7 const username = context.values.get("AtlasPublicKey"); 8 const password = context.values.get("AtlasPrivateKey"); 9 const projectID = context.values.get("AtlasGroupId"); 10 11 //Extract the Atlas user object description 12 const userObject = JSON.parse(body.form_response.answers[0].text); 13 14 // Database users post command 15 const postargs = { 16 scheme: 'https', 17 host: 'cloud.mongodb.com', 18 path: 'api/atlas/v1.0/groups/' + projectID + '/databaseUsers', 19 username: username, 20 password: password, 21 headers: {'Content-Type': ['application/json'], 'Accept': ['application/json']}, 22 digestAuth:true, 23 body: JSON.stringify(userObject)}; 24 25 var res = await context.http.post(postargs); 26 console.log(JSON.stringify(res)); 27 28 // Check status of the user creation and report back to the user. 29 if (res.statusCode == 201) 30 { 31 response.setStatusCode(200) 32 response.setBody(`Successfully created ${userObject.username}.`); 33 } else { 34 // Respond with a malformed request error 35 response.setStatusCode(400) 36 response.setBody(`Could not create user ${userObject.username}.`); 37 } 38 };
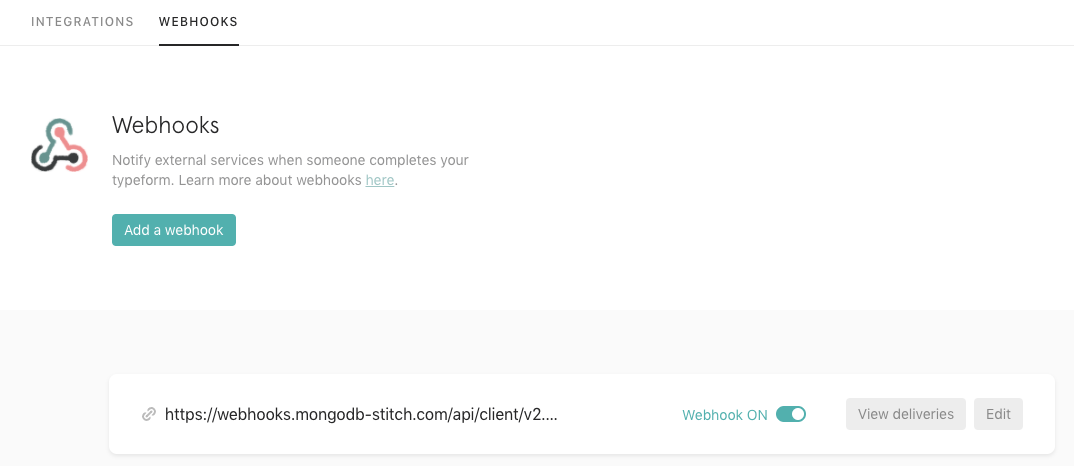
Once the webhook is set and ready we can use it as a webhook url input in the Typeform configuration.
The Realm webhook url can now be placed in the Typform webhook section. Now the submitted data on the form will be forwarded via Webhook integration to our webhook:
To strengthen the security around our Realm app we can strict the allowed domain for the webhook request origin. Go to Realm application "Manage" - "Settings" > "Allowed Request Origins":

We can test the form now by providing an Atlas API user object .
If you go to the Atlas UI under the Database Access tab you will see the created user.

#Summary
Now our developers will be able to create users quickly without being exposed to any unnecessary privileges or human errors.
The webhook code can be converted to a function that can be called from other webhooks or triggers allowing us to build sophisticated controlled and secure provisioning methods. For example, we can configure a scheduled trigger that pulls any newly created clusters and continuously provision any new required users for our applications or edit any existing users to add the needed new set of permissions.
MongoDB Atlas and Realm platforms can work in great synergy allowing us to bring our devops and development cycles to the next level.